Best Practices for Scanning and Preserving Old Army Photos
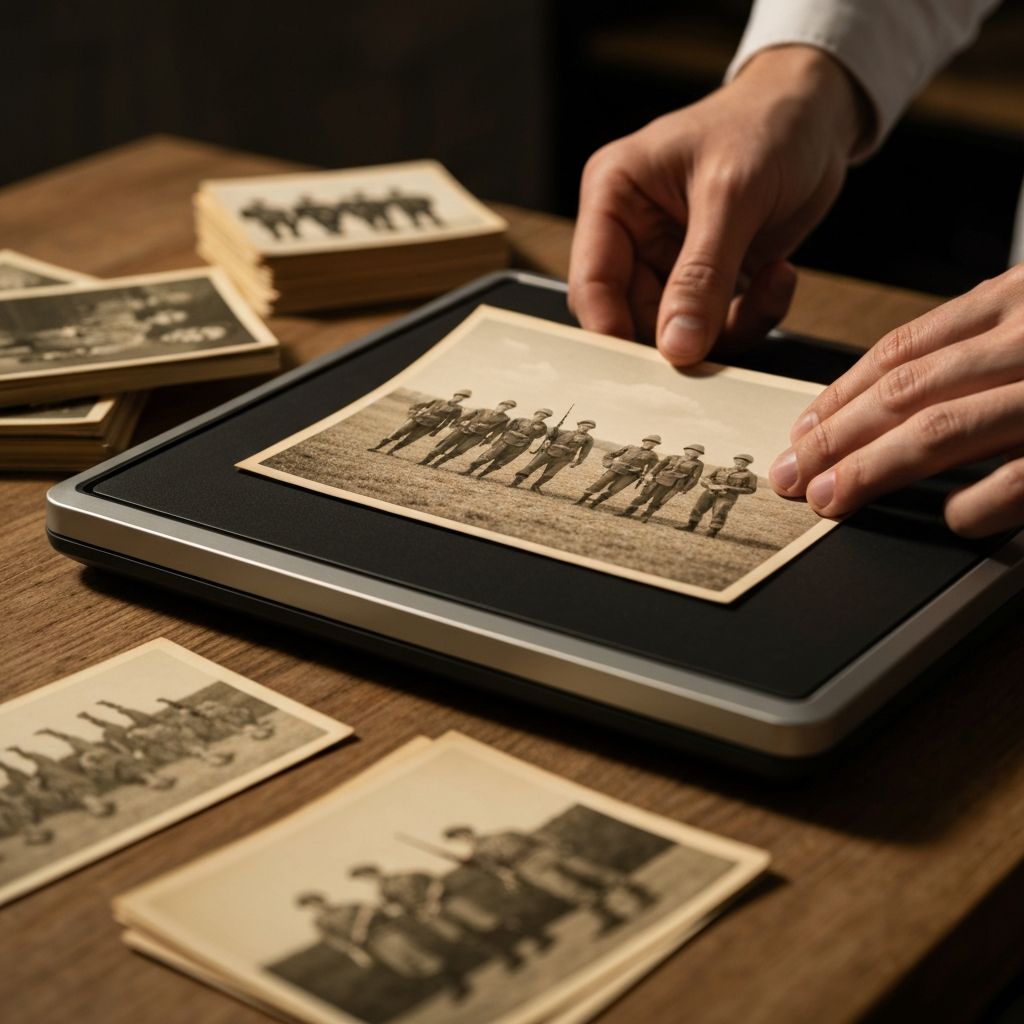
Your old Army photos are precious historical documents. Before transforming them into animated memory films, you need to digitize them properly. Here's how to scan and preserve your military photographs for the best results.
Choosing Your Scanner
Resolution Matters:
- •For basic viewing: 300 DPI
- •For animation and enlargement: 600 DPI
- •For archival preservation: 1200 DPI or higher
For military photos, we recommend at least 600 DPI to capture fine details and ensure flexibility for future projects.
Scanner Type:
- •Flatbed scanners work well for most photos
- •Photo scanners designed for 4x6 prints offer convenience
- •Batch scanners allow multiple photos at once
Preparation Steps
Handle with Care:
- •Wash hands before handling photos
- •Use cotton gloves if available
- •Avoid touching the photo surface
- •Store originals in acid-free sleeves
Cleaning:
- •Use soft brushes to remove dust
- •Never use water on original photos
- •Consider professional cleaning for valuable or damaged photos
Scanning Settings
Color vs. Black and White:
- •Scan color photos in color, even if they appear faded
- •Do not scan color photos as black and white; you can convert later
- •Use the photo's original color space
File Format:
- •Save as uncompressed TIFF for archival quality
- •JPG for sharing and animation purposes
- •Always maintain a lossless backup copy
File Naming:
- •Use consistent naming: YYYYMMDD_Rank_Name_Event
- •Example: 20220315_Sgt_John_Smith_Fort_Benning_Training
- •Include date, person, and location when possible
Common Scanning Mistakes to Avoid
- •Using low resolution — You cannot add detail later; scan high enough the first time
- •Poor lighting — Shadows under scanner lid reduce quality
- •Dirty scanner glass — Clean before each batch of photos
- •Not straightening photos — Use the scanner's straightening feature
- •Excessive compression — Save originals losslessly
Enhancing Scanned Photos
After scanning, use photo editing software to adjust brightness and contrast, correct color balance, remove dust and scratches, straighten horizons, and crop to remove scanner artifacts.
Organizing Your Digital Archive
Create a folder structure organized by Year, Event, Person, and Unit. Maintain metadata for each photo including date taken, location, names of people in the photo, unit information, and historical context.
Backing Up Your Scans
The 3-2-1 Rule:
- •3 copies of your photos
- •2 different storage media types
- •1 copy off-site
Recommended setup includes your original hard drive, an external backup drive, and cloud storage such as Google Photos, iCloud, or a dedicated archive service.
When to Seek Professional Help
Consider professional scanning services for heavily damaged or fragile photos, very large collections, color restoration needs, and high-quality archival requirements.
Conclusion
Properly scanning and preserving your military photos ensures they will be available for animation, sharing, and family archives for generations. Taking the time to do this right now will pay dividends in the quality and longevity of your digital memories.
Start scanning your photos today. Your military memories deserve the best preservation.
About the Author
Patricia Johnson is a dedicated writer passionate about preserving military memories and honoring the service of veterans and their families. Contributing insights and guidance to help everyone preserve their most cherished moments.
Ready to Create Your Memory Film?
Transform your Army photos into beautiful animated films with our easy-to-use tool. Preserve your memories for generations to come.
Start Creating NowPublished
February 28, 2026
Reading Time
4 min read
Category
Tips